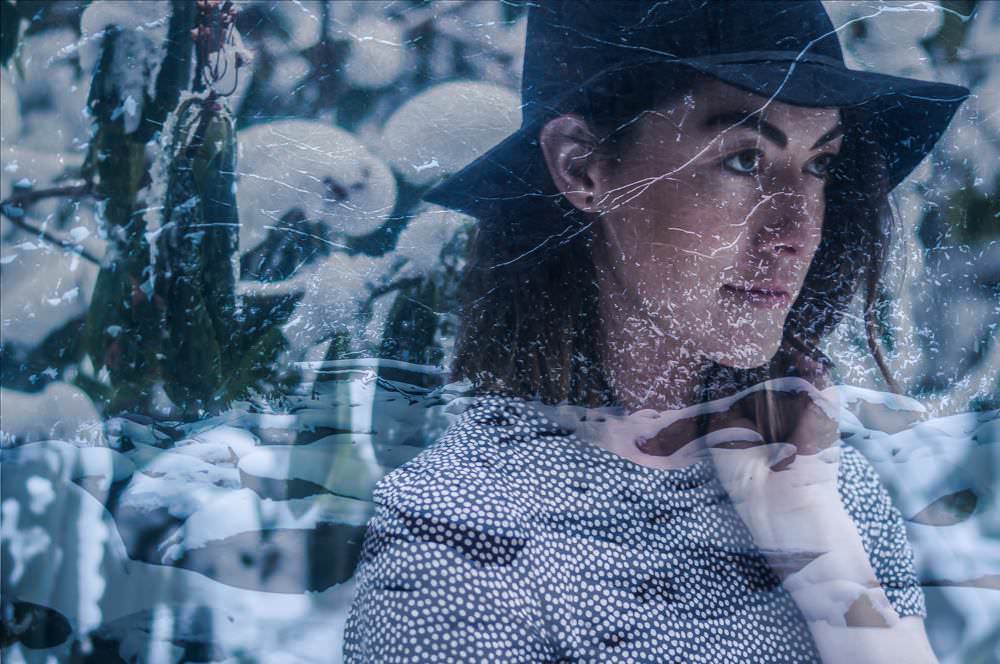
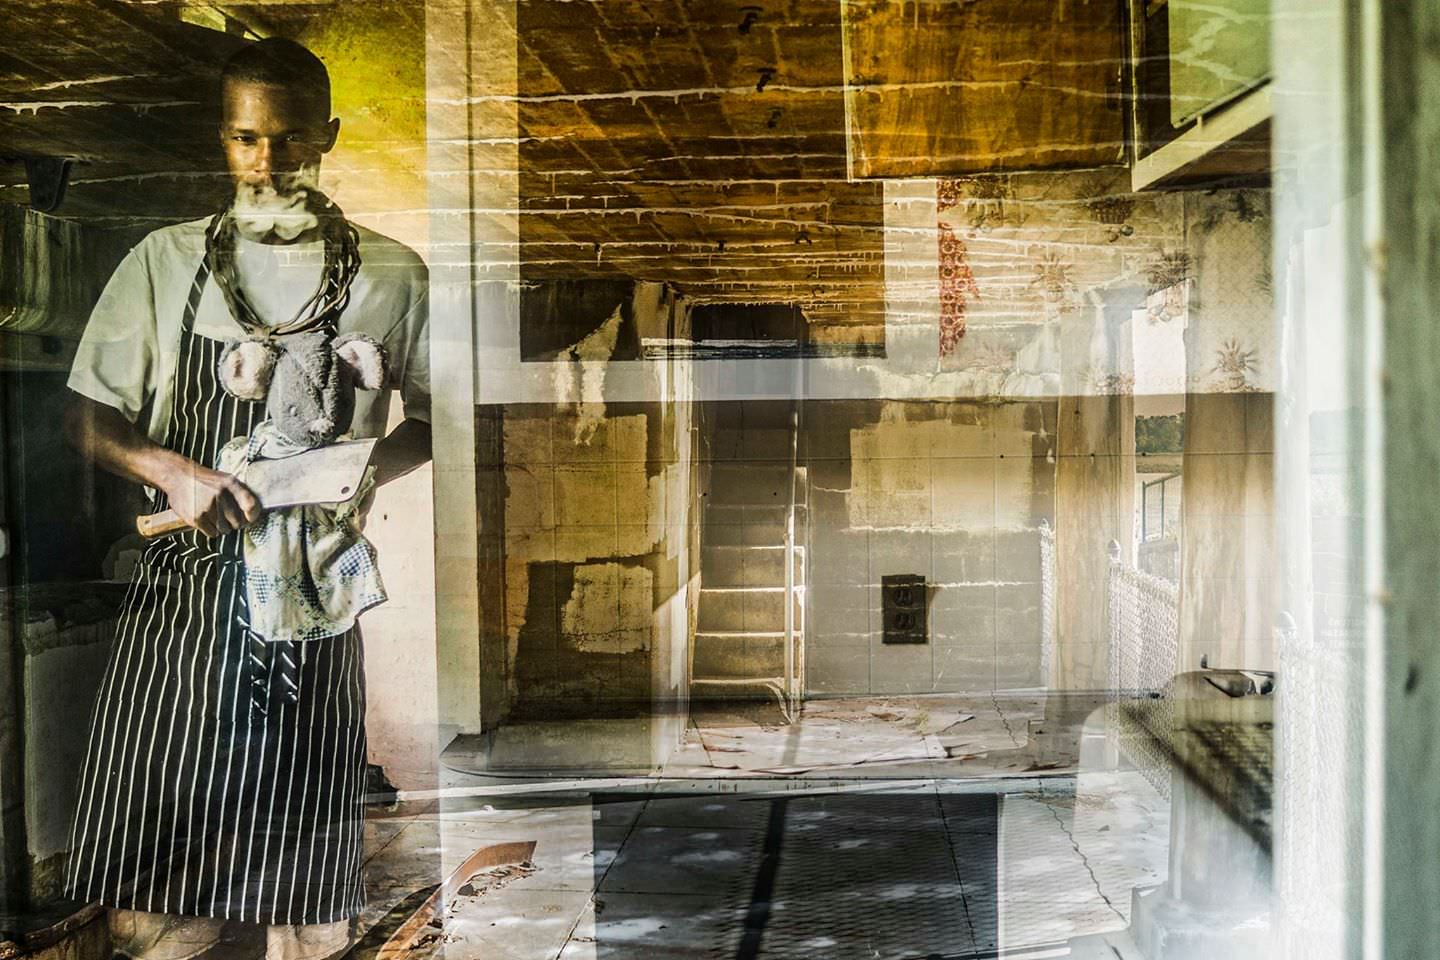
One of the most difficult techniques in photography since the test of time is double-exposure photos. Back in the day when these type of photos were being done on film cameras, one could only hope, and wish that a double-exposure photo will come out exactly the way they want it to.
With today’s camera advancements, you can create a double-exposure photo in-camera (which is extremely helpful) yet are exclusive to the more expensive priced cameras. Here are a few helpful tips to creating and post-editing double exposure photos.

Location Scouting, and Creating Sketches/Blueprint: To save ample amounts of time, before you even start to shoot, scout your locations. Being familiar with the location(s) that you will be shooting at is key. Typically, you can use one location, but a different spot could produce different lighting. If both locations have natural light that you use or one requires offset lighting (i.e. on-camera flash, strobes, etc.,) it’s best that you know that in advance.
After you are done scouting your location(s), have a notebook that is solely for sketching and jotting down photo ideas on hand. If you can only draw stick figures, then so be it! Be as descriptive as possible in your notes of exactly what you see in your mind how the double-exposure photo should come out at that moment.
Exposure Levels and Shooting Multiple Frames: When creating double-exposures with post-editing, always make sure you have frames of both photos under, neutral and over exposed. There is a huge difference in exposure, contrast, sharpness, saturation, grain, and focus when looking in your viewfinder, then looking in Photoshop/Lightroom. The more options you give yourself, the chances of you having to go back to the location(s) after figuring out that are lowered.

Your first 10 double-exposure photos will probably not be your personal best. In the same realm of the great Henri Vartier-Bresson famously saying “Your first 10,000 photographs are your worst.” your double-exposure journey will not take as long. Once you understand the basic fundamentals of photography, all it takes is practice with combining two photos into your vision of one.
Never be afraid to ask for advice from other photographers who have experience with double-exposure photography. Do as much research as possible, look at different styles that are intriguing to you, and learn how to put your own twist on it. What are you waiting for? Start scouting out some locations and get to creating your double-exposure photos!
–
Kenon Lamont Thompson is a fine-art photographer mixed with being a journalist, 1990’s nerd, and coffee enthusiast.
Website
Facebook
Examiner/AXS Freelance Journalist Profile
Leave a Reply