I have been struggling with noise on a number of photos I have taken in extreme light situations. From low light landscapes through to live music performances many of my best captures have been blighted with grain and noise. In an attempt to make the best of a bad bunch I generally spend a bit of time working with the images in Lightroom and Photoshop in an attempt to patch one or two photos for presentation.
My agony is over. I think I have discovered the answer to all my low light problems in the form of a stand-alone application or plugin-in called Noise Ninja. The plugin claims to be the most effective and productive solution for removing noise and grain from digital photographs and scanned film images.
“It is a must-have tool for anyone shooting in low-light or fast-action situations, including news, sports, wedding, and event coverage where high ISO photography is required and the resulting noise compromises the image”
When it comes down to software I pretty much have a fifteen minute test rule. If I can’t use the basics of an application in that time then I pretty much deem the learning curve to be too steep. Installing Noise Ninja is simple process and the developers offer a few tutorials on site although I would be surprised if you need them.
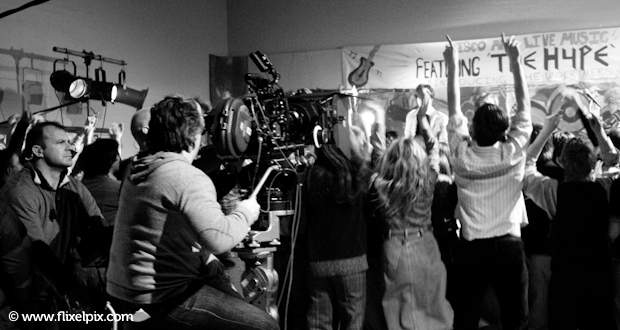
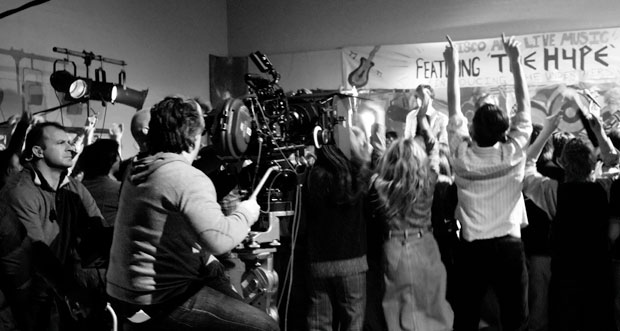
To test Noise Ninja I took a photo that was captured in low light at a high ISO. The grain on the walls is particularly evident towards the top of the image.

Having installed the plugin for Photoshop I was able to right click on the image in Lightroom and chose edit in Photoshop CS4. I decided to see what the plugin would do with no intervention, using the base settings for profiling the image I had imported. To be honest I suspected I would have to learn how to get the best out of the plugin and the first run would be just “OK”, but I was definitely wrong, the result was stunning.

The improvement is difficult to see at these dimensions but you might see some improvement around the lights on the left hand side or perhaps the faces. I can assure you the difference is massive at full size.
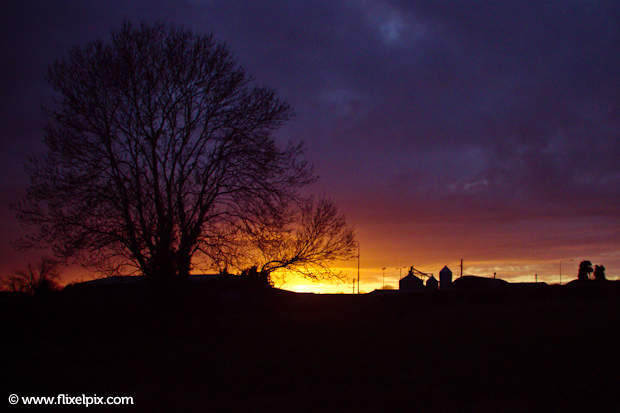
Not satisfied with just a single test I decided to put Noise Ninja through its paces with a noisy colour image. You might remember the remarkable sunsets the UK witnessed a number of weeks back due to the volcanic ash (see our favourites here). I managed to capture one of the sunsets and to my horror the grain meant the image was terrible bigger than 1000px wide.

I am not sure if you can see the grain at this size. Here is a zoomed area of the sky before Noise Ninja Processing :

Again using only the default settings and no user intervention here is the same area of sky post Noise Ninja Processing :

At this magnification you can see the difference the plugin makes. Remember I am using it straight with no profiling or adjusting but even at that I am amazing at just what it can do.
Noise Ninja isn’t just a custom photoshop action is it is a powerful image processing plugin that is intelligent right down to the type of camera your photo was taken on. Noise Ninja uses a patent-pending profiling technology that accurately describe the noise for a particular image source.
For instance, Noise Ninja “knows” that noise for a particular camera at ISO 1600 is high in dark reds and low in light yellows. And it “knows” that noise in the blue channel is higher than in other color channels for a certain scanner. By combining noise profiles with sophisticated filtering, Noise Ninja is able to achieve consistent, high-quality noise removal.
Noise profiles for dozens of cameras are available for download and although there isn’t one for the Canon 7D (yet) it is a very quick process to profile your own unit.
Noise Ninja is available as a stand-alone application, plugin for Photoshop and a plugin for Aperture. Although there is no plugin for Lightroom it is a very easy process to use either Photoshop and if you don’t own Photoshop the external editor to remove noise.
Conclusion
There isn’t much to say, rarely have I come across an application or plugin with such spectacular results before I have even made an adjustments. I actually think Noise Ninja offers photographers the confidence to take more high ISO, low light photos and if the Noise Ninja results are this good without profiling I can’t wait to see what it can do once I have started to play.
The good news is Noise Ninja is a Professional level application without a professional level price tag. The most expensive version of Noise Ninja (that offers both the standalone and plugin) is still less than $80 ! There is also a demo available on site but trust me, fix one photo with Noise Ninja and it will soon be apart of your low light workflow.
I would love to know what you think think of Noise Ninja and if you share the same excitement, I can’t praise it enough.
Noise Ninja is fantastic. A must have tool!
I have to agree, I never expected something so easy to use to be so good. I’d say “essential”.
Any kind of noise reduction software is a must-have in the digital toolbox. I spend a lot of effort controlling noise in cam, but -as you say- there are times when it’s not possible. I downloaded demos of both Ninja and NeatImage a couple of years ago and went with the 32 Bit NeatImage Plugin (no standalone avail for Mac OSX) If I remember, the choice was based on detail preservation. But they’re all competetive and one is better then none.
Nice review! I’ve often wondered how effective these plug ins are. Thanks for the tips.
Seems like a bit of a waste of time to me – my take on the matter is – shoot / enjoy / keep or dump /accept as is. Otherwise the danger is you spend too much time making minimal useless changes to old photos instead of learning from the mistakes, and getting on with photography. Believe me, no-one other than persnickety photographers cares about grain really. If the shot is amazing it will be published regardless. If it’s not then get on with taking more amazing shots.
I found that NoiseNinja did better when used in simple automatic ways. Simplest: Let NoiseNinja create a profile FROM the image. It finds uniform areas and sets up small sampling rectangles then creates a profile for for that image. Next simple, which I had to use once on a case where I really mishandled the camera: select the areas to be sampled manually, create tiny rectangles in as many of those areas as you wish, then let NN create the profile. For both those procedures, then hit the button that, using the created profile, reduces the noise.
Eventually, I photographed NN’s color chart and created profiles from for my camera by photographing it at three ISO values. To my surprise, when applied to some images, I found that NN did better using the simpler methods described in the paragraph above.
I agree, NN is a fantastic product.
One further comment about NoiseNinja. Maybe there is a control of output file size; if so, I haven’t found it. The one thing that disturbed me was that the output files were over 100 MB. I ultimately discovered a reasonable cure, at least, on a Mac. I display the file in Preview, then I save the 100 MB .tiff as an 8-bit LZW compressed .tiff, and it’s down to 30 MB or less, roughly comparable to my digital negative (RAW) size from the Leica M9.
Biggest problem with this plug-in (at last check) it is still 32-bit, which requires Photoshop to be run in 32-bit. Fail.
Exposure properly, but the gear you need once it limits you. NN no longer a need.
-A