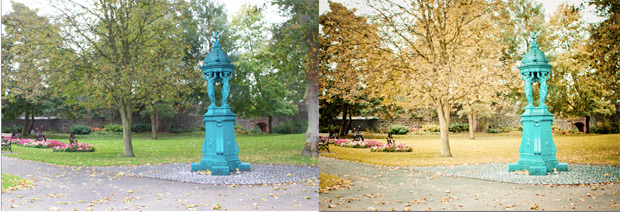
I previously covered the large number of Lightroom presets that are readily available to transform your photos at the click of a mouse. Eventually though you might want to venture to producing your own creative presets.
In a recent series I found myself processing a batch of photos adjusting the exposure, recovery etc to the same level for each photo. Lightroom offers the ability to make this set of adjustments a one click preset.

Creating your own preset is a very simple process. Select the image you have adjusted to the desired level.
 On the left hand side of the screen (in the develop module) you will see the title “Presets” click the + button.
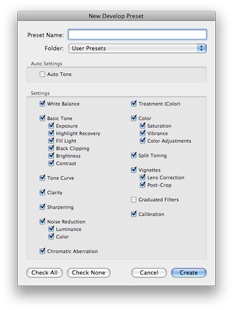
A window will appear that allows you to adjust what aspects of the custom action are added to the preset.
For example the level of vignette quite often depends on the image being edited so it might be best not to store the vignette settings in the preset but all these manually to the photo later.

Saving your Preset
Next you have to give your preset a name.
I would recommend this is as descriptive as possible, as the number of presets grows it can be complicated to identify which does what.
Once you are happy with your name and aspects being included in the preset click the “Create” button.
Your preset will now be listed under “User Presets” within the Develop module. You can also easily share or backup your preset by right clicking on it and selecting “Export“.
Finding your Presets
If you are using a Mac and want to backup your entire presets library it can be easily located under your library folder. The screenshot below shows the folder structure to follow :

If you are new to presets in Lightroom then you might want to start with a few of the professional free offerings listed on this post.
Leave a Reply