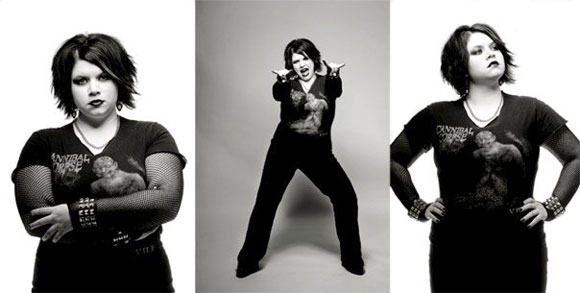
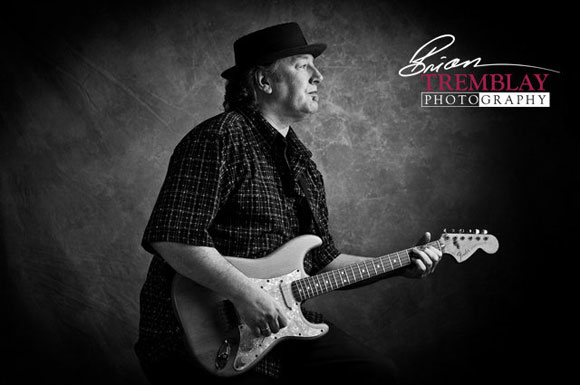
Brian Tremblay is an epic portrait photographer who has given his time to share some of his secrets to simple lighting effects. To create an effective portrait you really don’t need any kind of external lighting at all. Be it flash or hard lights. Many portraits were created using just the ambient light in the room or great outdoor location. But, if you would like to step it up a bit, then you can start looking into adding some flash to your portraits.
Remember: you don’t need those big studio strobes in mono block or pack and head form. You can create great portraits with the small speed lights that are dedicated to your particular camera. And even then, they don’t have to be the speed light flash that is the same as your camera brand. Still one of the most effective flashes for portrait lighting is the Vivitar 285. Check EBay for these and when you find them, scoop up a couple – you won’t regret it!

The best way to create an effective portrait is to get your flash off your camera. My favourite method is using the industry stand flash trigger – The Pocket Wizard. I highly recommend every photographer buy themselves at least two of these units. If you take a workshop where studio flash is involved they will be using Pocket Wizards to trigger the flash. It’s always nice to have your own so you don’t have to wait your turn.
The next items you’ll need are a light stand to put your flash on, an attachment that will hold the flash and some kind of light modifier and of course – a light modifier. The most common light modifier is an umbrella. But there are also soft boxes, beauty dishes and grid spots. You can source these out with your favourite camera store. Once you have your flashes mounted on stands with some form of wireless trigger, it’s time to set them up for your portrait.
Essentially, only one light will actually be illuminating the subject. The other flash will provide some separation from the background by pointing it at the background or at the back of the subject causing a kicker or rim light effect. Place your subject matter in front of the background any where from four to six feet away. The farther away from the background the better, but sometimes you don’t have a choice. Next, place your flash, that is going to be the background light, either behind the subject to hide it effectively or next to the subject aiming at the background. Now it’s time to place the other flash that is going to be the main light.

Although not very scientific, I start by placing my main light at forty-five degrees in relation to the subject. Usually a little higher than the subject aiming down. If I’m using a large soft box I will use it level and off to one side trying to simulate window light. Another very important point: your flashes should be set on manual mode. Automatic or TTL doesn’t work for me when I use this method as it doesn’t allow you to control the amount of light falling on the subject very effectively.
To fill in shadows on the subject, use a reflector. These can be purchased from a variety of manufacturers or you can effectively make your own using something as simple as white Coroplast or foam core and if you want to make one side a silver reflector – break out the tin foil and coat one side! Remember: the three things you’ll use to effectively control your exposure are shutter speed, aperture and ISO. And a good rule of thumb that helps is: aperture controls flash; shutter speed controls ambient light.
I hope this helps and will bring you into a whole new world with lighting your portrait subjects!
Links:
http://www.tremblayfinephotography.com
Check out my workshops: http://www.aperturenorthphotoworkshops.com
Twitter – http://www.twitter.com/tremblayphoto
Facebook – http://www.facebook.com/btremblayphoto
Hi
Great tips – often one does not need more that two lights and a reflector or two. I use Alien Bee lighting, a large softbox and an umbrella reflector. This suits me for 90% of all situations.
Here are two examples of what can be achieved. I found that 90 degree lighting works well for younger people (few wrinkles) and one moves closer to 0 degree for older subjects!
regards, Erik
http://kerstenbeckphotoart.wordpress.com/2011/03/06/red-or-black-ii/
Hi, i am just in the process of setting up a mini home studio with just a couple of speedlites so this article was great for me, will keep you posted on how i get on
cheers
tristan
“aperture controls flash; shutter speed controls ambient light.” Says it all.
I always love reading about and seeing what people are doing with minimal lighting. Nice article, thanks for sharing.