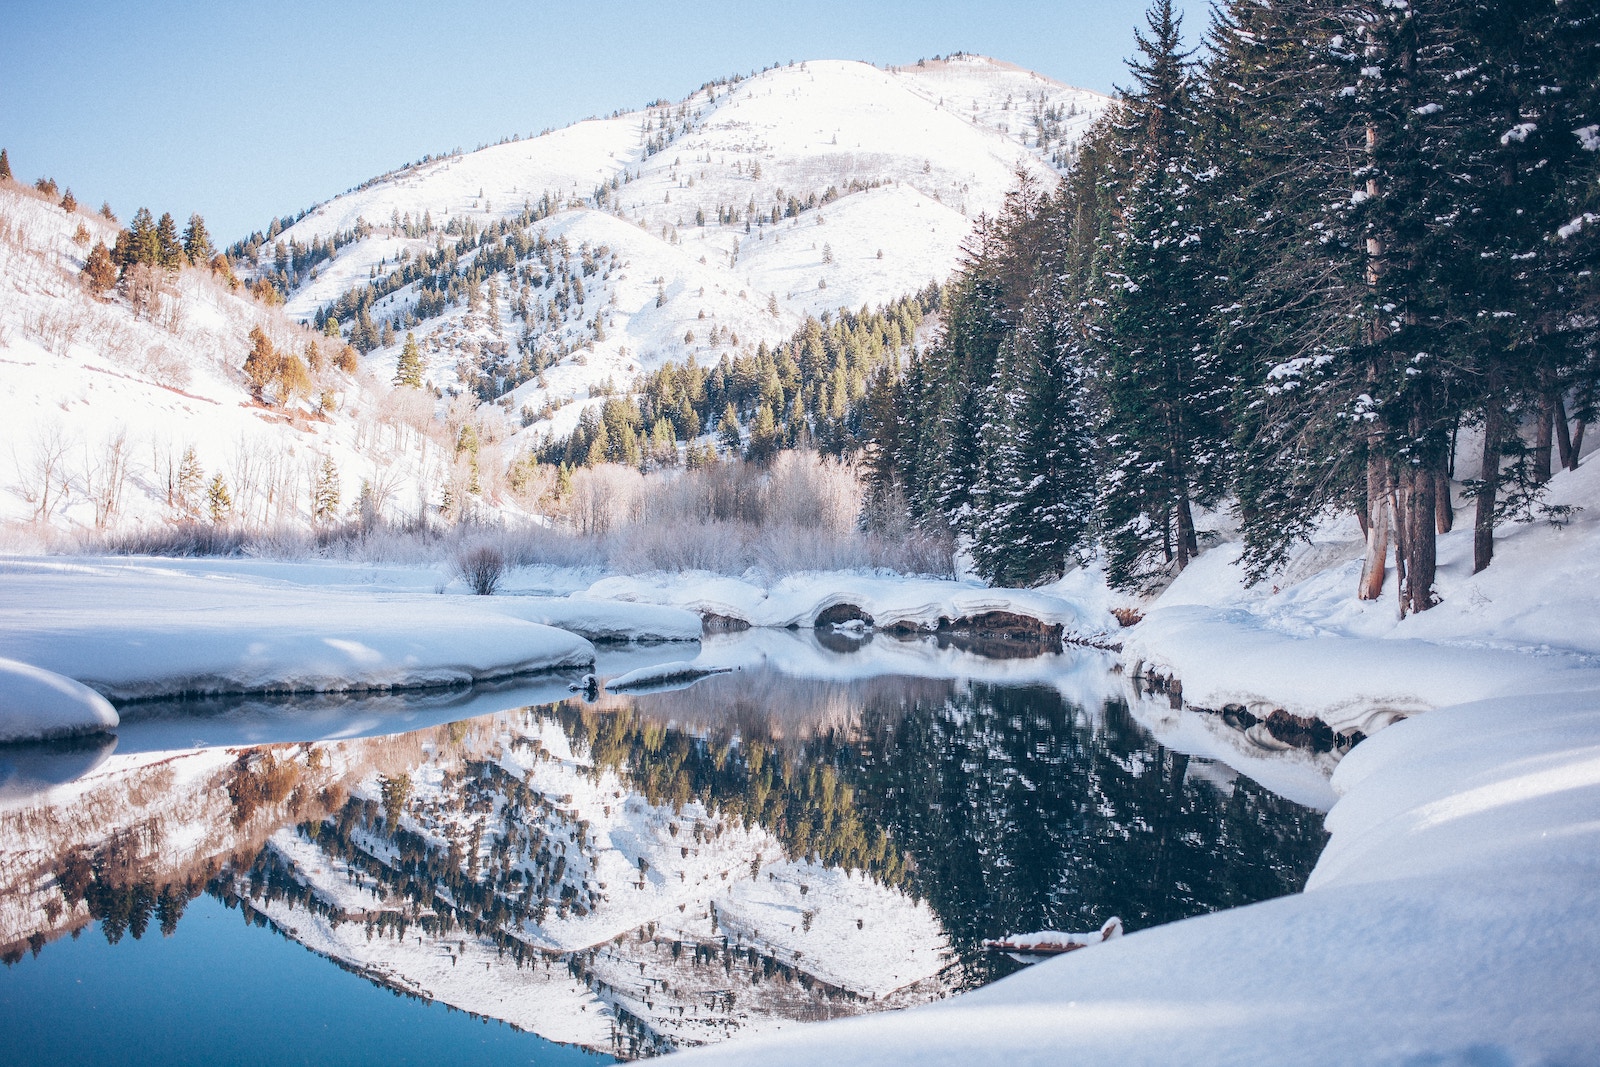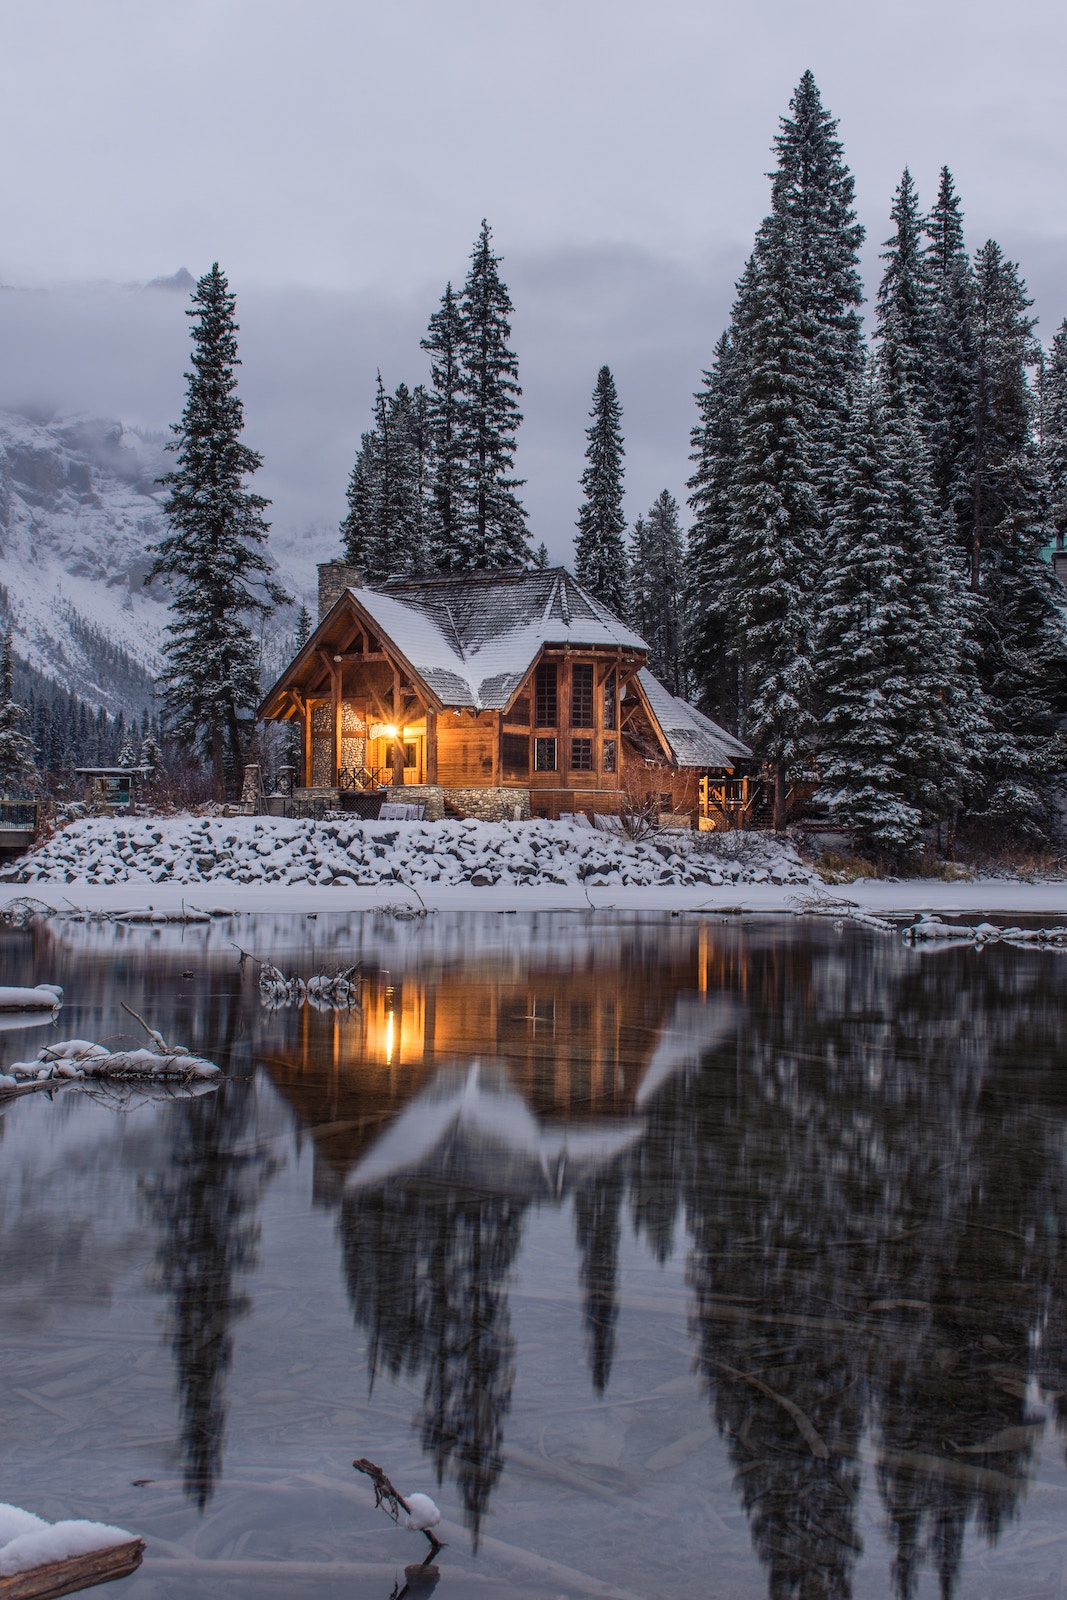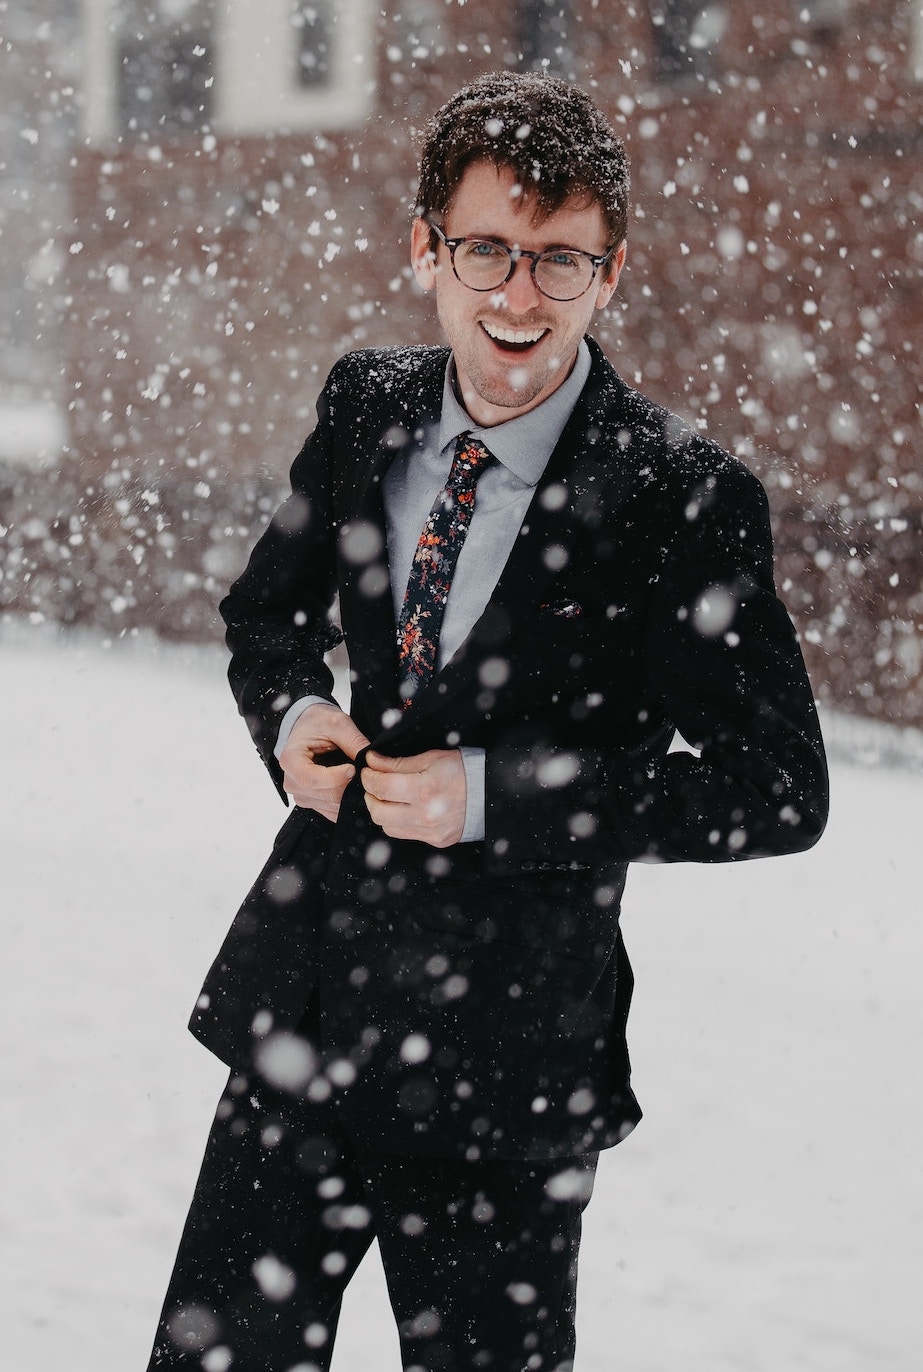
Many countries around the world have the winter season quite extensively, especially the ones located above the Tropic of Cancer. Yes, it gets extremely cold there, sometimes unbearable, yet it is the favorite time of the year for winter photo editing for many because of the weather itself. Winters are undoubtedly one of the best times to click pictures as well as the ambiance, and the beauty of Mother Nature is easy to capture in its full glory. The morning sun has a different glow, and when the light coming from it falls on the snow and gets reflected, the whole setup looks like a dream to behold. If you ask any photographer, they will tell you that they love doing nature shots in the winter for the same reasons.
However, breathtaking it might be, winter photography is more critical than others as the editing might become a little complex. One of the most commonly used photo editors used for professional editing in MacBook is Lightroom and winter photos have to go through extensive editing in it for best results. A few ideas pertaining to Lightroom that can make your winter photos look out of this world are-
Change your background
When the background is being talked about, it is not the image that is of concern but the background canvas on which the image rests. The background always acts as a good reference point on which the whole image is based. Thus, it is an essential landmark while editing. If you adjust the background correctly, you can improve the esthetic of your image overall. Generally, changing the whole background to white initially and then making adjustments is the common way to start editing in Lightroom.
White balance
 Another huge point of concern in winter photography, and winter photo editing, especially the ones on which the snow covers the majority of the image, is the white balance. This is because snow is differently reflective of light and tends to give a yellowish hue to the picture, which also creates the impression that the whole image is underexposed.
One easy way of improving the white balance is to set it to the Auto mode in Lightroom and then bring it down to half. Using an eyedropper to get a neutral tone can turn out to be damaging as the picture becomes too warm, so avoid it.
Clarity
If you observe any picture closely, the area where the dark and the light images meet tend to be a little blurry as the sharpness and consequently, the overall quality of the image is compromised. Therefore, another essential aspect that should be adequately adjusted using Lightroom is the clarity that increases the contrast as well as the sharpness of the picture.
Generally, boosting the clarity adequately does the trick, but over boosting it always has the chance of making the picture look artificial. Experts say that +62 is the maximum that you can go in Lightroom to preserve its natural hue.
Choose your white and black point
The white and black points of a picture are basically related to hardening or softening a picture. It is an important thing to consider while doing winter photo editing as it makes it stand out from the rest and give winter photography the much-deserved boost.
You should start by bringing up the white point up until the image does not break and then doing the same with the black point as well. This results in the aforementioned softening look and also makes the image look ethereal.
Vibrance and saturation
One tab in Lightroom that is generally overused by photographers is the vibrancy and saturation, and unfortunately, it spoils the picture more than it does any good to it. If you are under the impression that once you saturate and put bright colors in your image, it will look good, you could not be any more mistaken.
Sometimes, a neutral tone looks better, especially from the perspective of winter pictures. Vibration takes the less saturated part of the picture and enhances the intensity of it. It is an excellent tool to use but always maintains an amount of caution.
Color in the cold
 If you are under the impression that only cold tones suit winter photos and winter photo editing, then you are yet to explore a wide spectrum of colors. For some pictures it might turn out to be a success but for most of them, finding the right balance between the warmer and colder tones and adjusting accordingly so that the warm tones do not overshadow the others has a better effect on the overall picture quality.
This process is sometimes called coloring the cold because you don’t tend to sit and harbor on the conventional but rather make it a point to add more color to the winter image.
Get creative with colors.
It is challenging to play with colors in a winter photo as the whole setting is primarily white, but the real deal is to add a splash of color to it. If you ask an expert about winter photography tips related to color, they will tell you that controlled creativity is essential. It has been found that green and a blue tone brings out the best in the picture.
Walk away
This might sound anticlimactic, but sometimes you actually need to walk away from your computer screen in case you want to make your winter photo editing better. It is natural for your eyes to get exhausted if you sit for hours in front of it and it won’t be able to detect minute changes as effectively as it could have done when you were fresh. Take a break at regular intervals and take your eyes and mind away from the editing, and when you come back, you will notice an improvement in your work immediately.
If you stay in a place where winter occupies the major chunk of the seasons in a year and want to divulge in photography as well, these tips will definitely come in handy while pursuing your job or passion, whatever you make out of these winter pictures.
–
 Dhaval Patel has two passions: Travel & Photography. Lucky for him they go hand in hand. His goal is to inspire and encourage others to get out into nature — it’s a beautiful and enlightening experience. Be sure to check back often to learn the various ways he photographs nature. If you have any requests feel free to contact him.
Leave a Reply