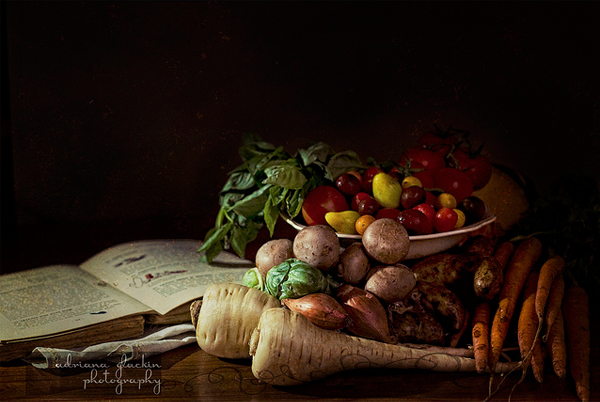
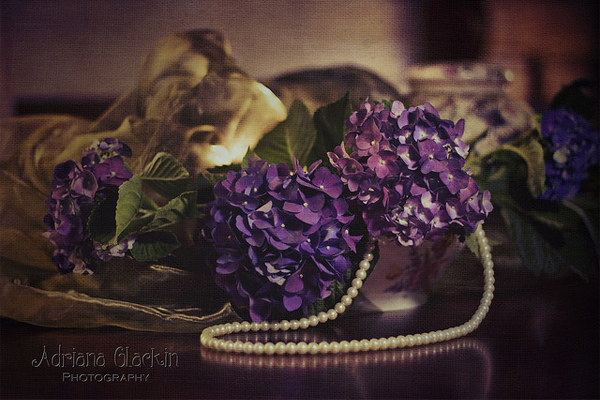
Eclectic is the only way to describe my photographic style. I enjoy photographing still life compositions, portraits, food and when weather and time permit, I also enjoy landscapes and seascapes. I find it difficult to limit my subject matter to only still life, or only portraits for example, as I derive so much pleasure from all styles. Photography presents us with a never ending learning curve from the minute we pick up our first camera and I enjoy learning something new each time I begin to set up my gear. So I thought I would share some details of the workflow I follow when creating still life compositions.

Inspiration – this can come from an object seen in a vintage store or a photo in a magazine or flowers from the garden or even from a theme seen in an online photography challenge/competition. I visit a few vintage stores always seeking out little knick knacks for the purpose of using them in a composition – but it doesn’t mean that I rush home and begin to set up without further thought to the composition.
This leads me to the next step, that of Pre-visualisation. Now that I have my object (a plump bunch of hydrangeas, for example) I build the composition in my head. I imagine the style of vase I will need to match the blooms as well as look for other accessories that will add to the story-telling of the composition. The items need to work together to create the look I am visualising, so that if I’m trying to achieve a vintage look, I need to ensure all items also have a vintage look about them. I visualise the positioning of the items and consider the lens and DOF I will be using. My preference is always for shallow DOF as I love how the focus falls away to the blurry softness from the initial point of sharp focus.
I am fortunate that photography is my passion and not my source of income so that I can indulge in allowing myself plenty of time to set up and shoot. For me, achieving an ideal composition can take some time. Using the example of the vase of plump hydrangeas, I arrange them in a pleasing manner, and then begin – one by one – to add the remaining objects. Arranging and re-arranging them until I have a composition that is pleasing to my eye. Currently, I rely a lot more on OCF to light the composition, but prior to having my current lighting gear, I used natural light or bounced flash on camera. I don’t like to delete images in-camera as I prefer to see them on my computer screen before I delete the ones that I feel don’t convey the concept I have pre-visualised.

Now, this next step is where my family think I take things a little too far. Rather than packing everything up once I have my shot, I instead continue shooting. Leaving the composition as it is, I swap lenses – long lens, nifty fifty, Lensbaby, toy lens, homemade bendy lens, change image orientation, change DOF, change camera angle, use or remove reflectors and white fill cards, crop the image tightly in-camera or give it plenty of space to breathe. In other words, I play with elements and learn from what I feel works and what doesn’t, what is a strong result and what is so-so. Why do I do this? I enjoy the learning process and I’m a visual learner, so to see all the varying compositions and how changing one element can alter the look and feel of the image, helps me to better understand composition and lighting.
Once I have the image, I open it up in Adobe Camera Raw and this is where I do the majority of the editing. I fine tune the temperature, the brightness, clarity, curves, and noise and so on. As I use a lot of textures in my work I open the image, together with the texture I’m using, in PS. I like to use a series of blend modes such as overlay or soft light on the texture layer to create a vintage, grungy effect. And finally I am done! Creating just one image can be quite a process and I encourage you to try and look at the scene before you from different viewpoints in order to find the ideal composition for you. If you have any questions, I would love to hear from you, but in the meantime, I wish you all good light and much creativity!
Links:
Website: http://www.redbubble.com/people/dabble
Blog: http://virtualjottingsbyadriana.blogspot.com.au/
Twitter: https://twitter.com/Adriana_G
Flickr: http://www.flickr.com/photos/virtualjottings/
Leave a Reply